my blog my blog

Category: Electronics
Cats and Lasers

I finally am a full member of the internet – I am the proud servant of two cats! To keep them entertained when me and my wife are at work, I built a web-controlled laser-turret:

At its heart is an ESP2866 on an nodemcu amica v2, a cheap servo pan/tilt kit with small 9g servos and some no-brand laser-module rated for 5v and 40mA.

In this build-log I will write about the process of creating it.

The code and all files I used can be found in my github-repo: https://github.com/TobiasWeis/cats_and_lasers.

Control a RaspberryPi Robot using Python and a mobile browser

Usually I use some physical buttons or joystick attached to my electronics in order to quickly test or control components like motors, relais or LEDs. I was searching for a better way, but could not really find one. In this article, I describe how I built a RESTful webserver with websockets, and a javascript-based based interface in form of a website. That way, any linux-based robot-controller can be controlled using a cellphone or a tablet. The code needed can be found here: https://github.com/TobiasWeis/robotcontrol-javascript

Interactive, low-latency javascript-based websocket-GUI for touch-devices with a python-flask backend that interfaces to robotic components. It provides virtual 2-axis joysticks (inspired by nipple.js but without the multitouch issues) and buttons that all work simulatenously. Due to the two-way websocket connection, status-messages from the robot can be displayed in the text-area.

Measuring voltage on a Raspberry Pi and displaying it in style

After I completed the circuitry to power my raspberry pi from a battery pack, I wanted a way to display the voltage of the battery pack, and be able to access the voltage level from the raspberry pi, so it can shutdown automatically when critical voltage levels are reached to prevent damage to the filesystem or draining the battery too much.

Powering a raspberry pi from battery

The raspberry pi will be the main processing unit of my pypibot. I want to power 6v-motors, so I decided on going with a 7.2v battery-pack. I had one lying around with 2600mAh, which should be enough for testing the setup right now.

I originally planned on going the easy way and ordered a converter from 8-36v to 5v, with a micro-usb-connector already wired (from DROK). Without any other load this worked nicely, although the input voltage was below 8v. But as soon as the motors have been wired up, the voltage would drop too low for this thing to still output 5v, and in consequence the pi went down.

So, here is the definite way to go if you want to power a raspberry pi in a robust way from a 7.2v battery (or anything above that voltage):

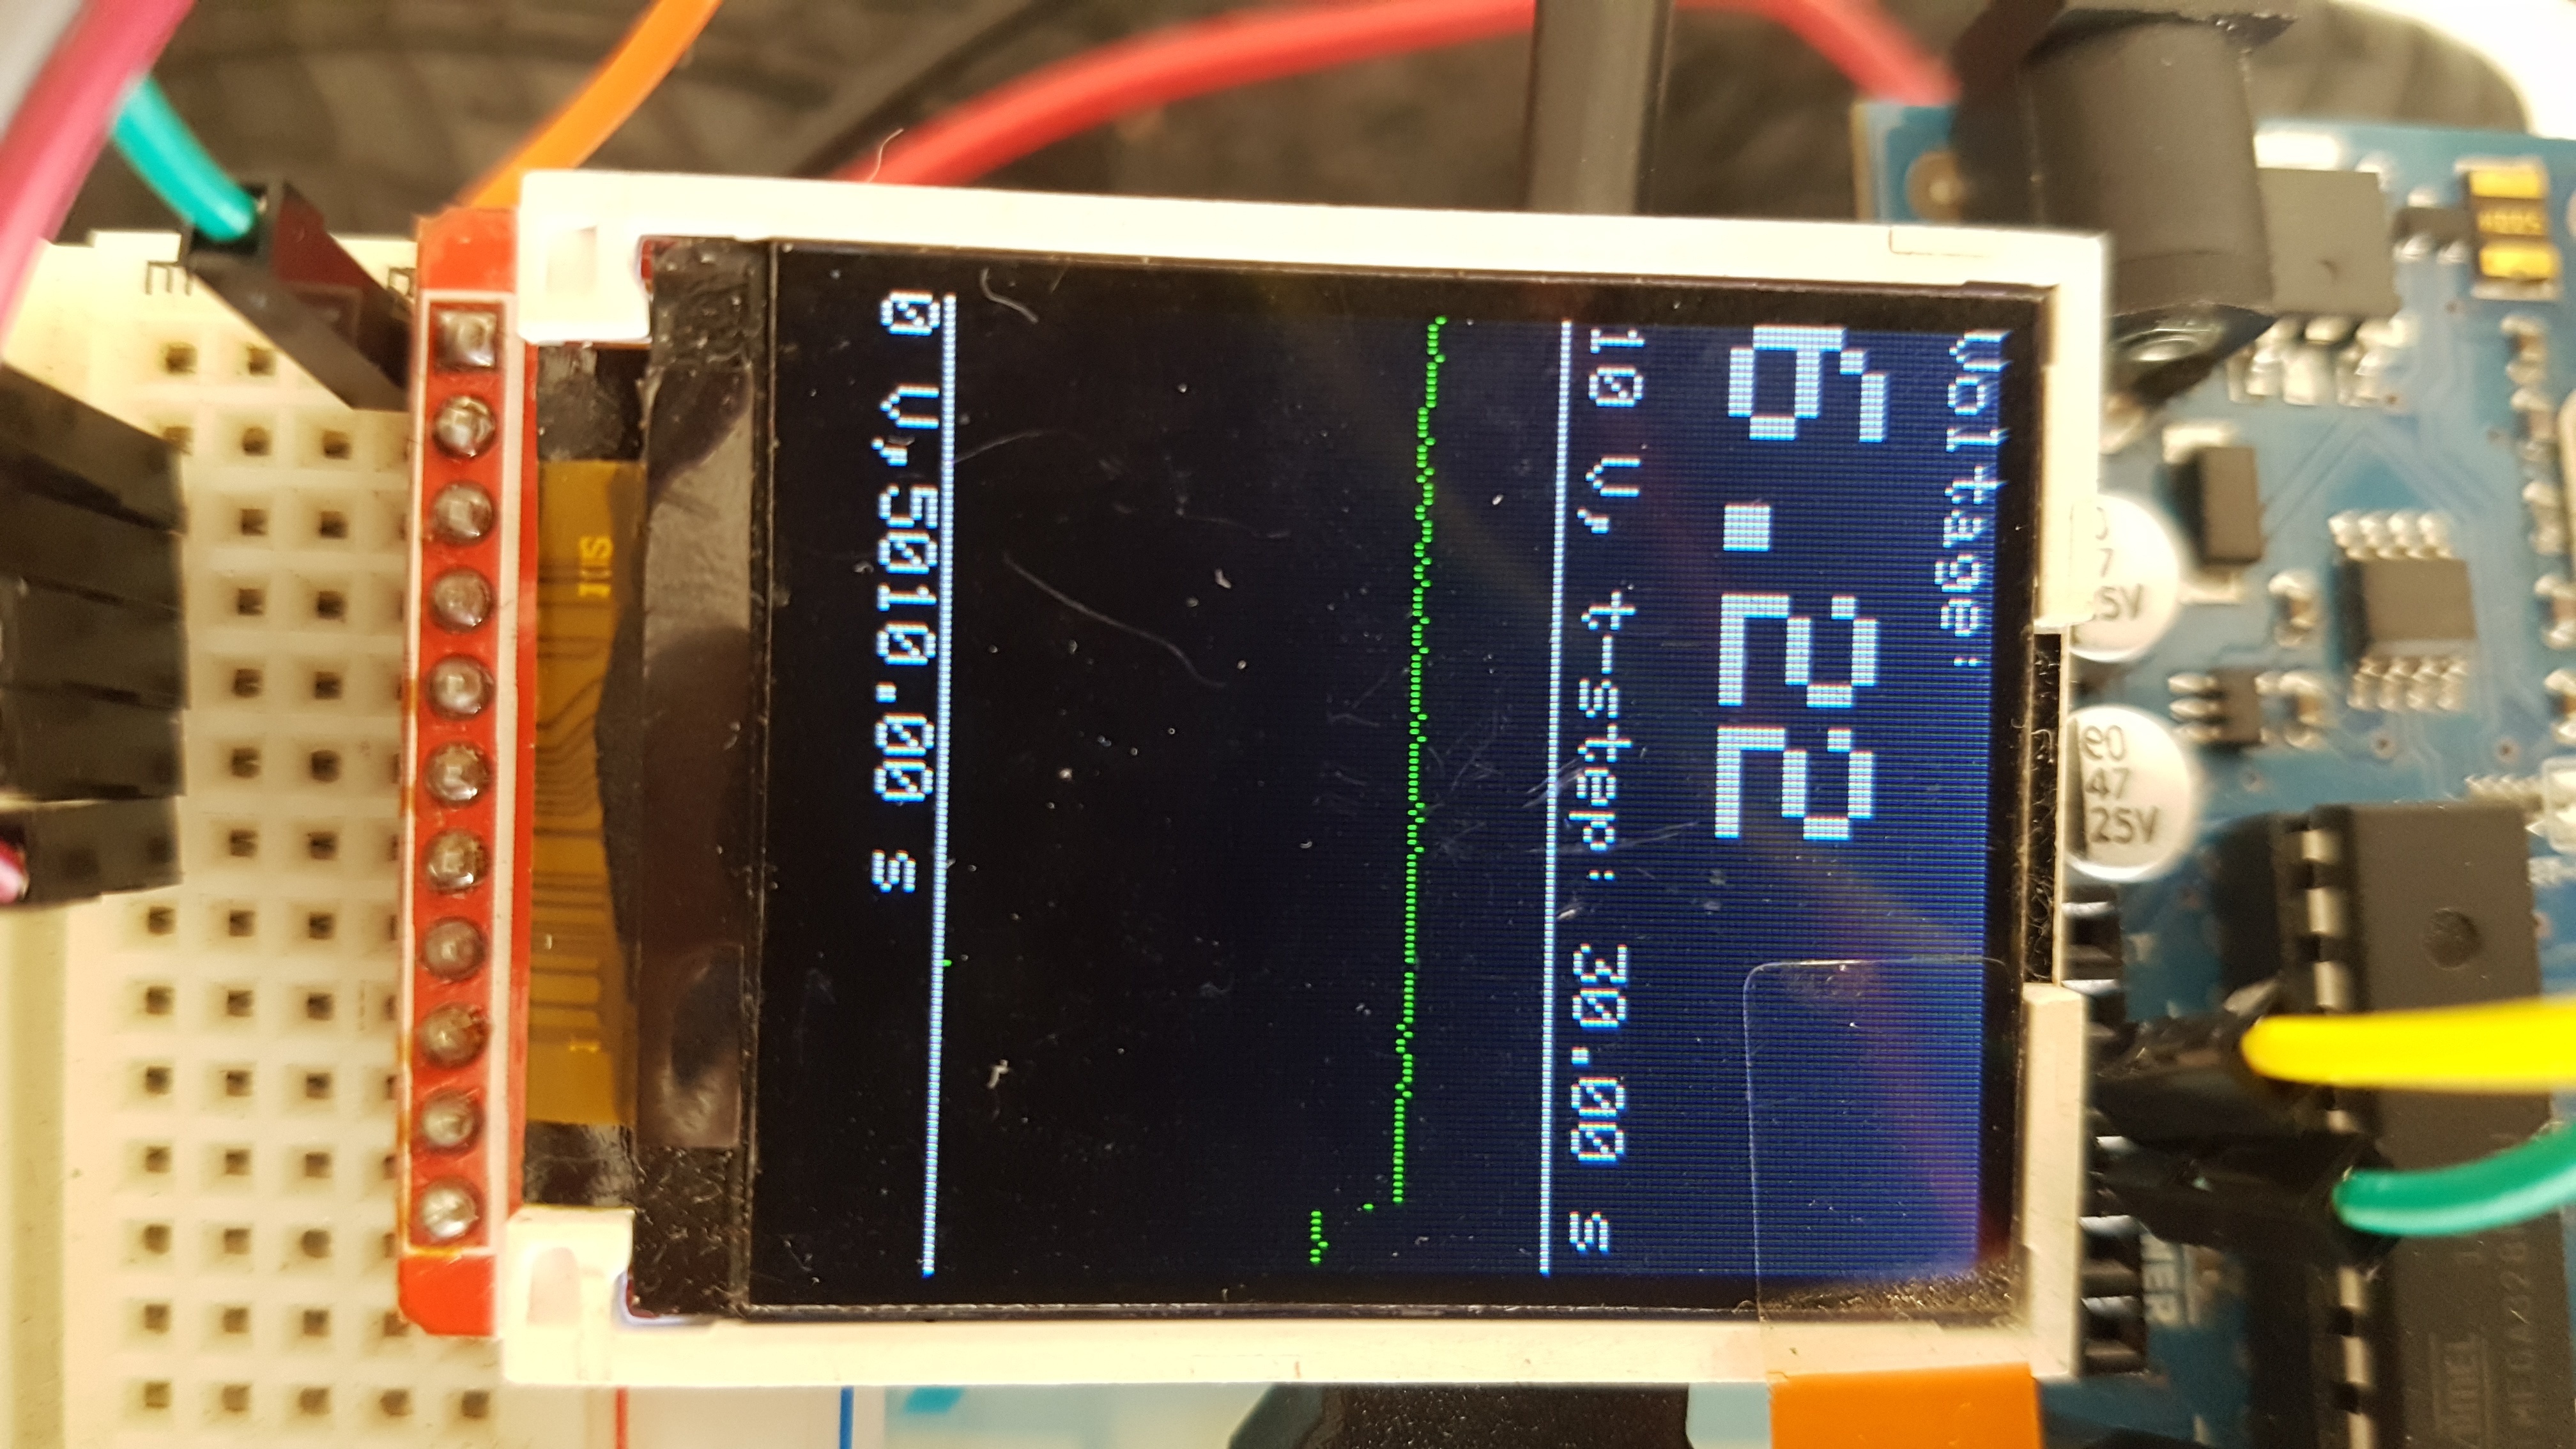
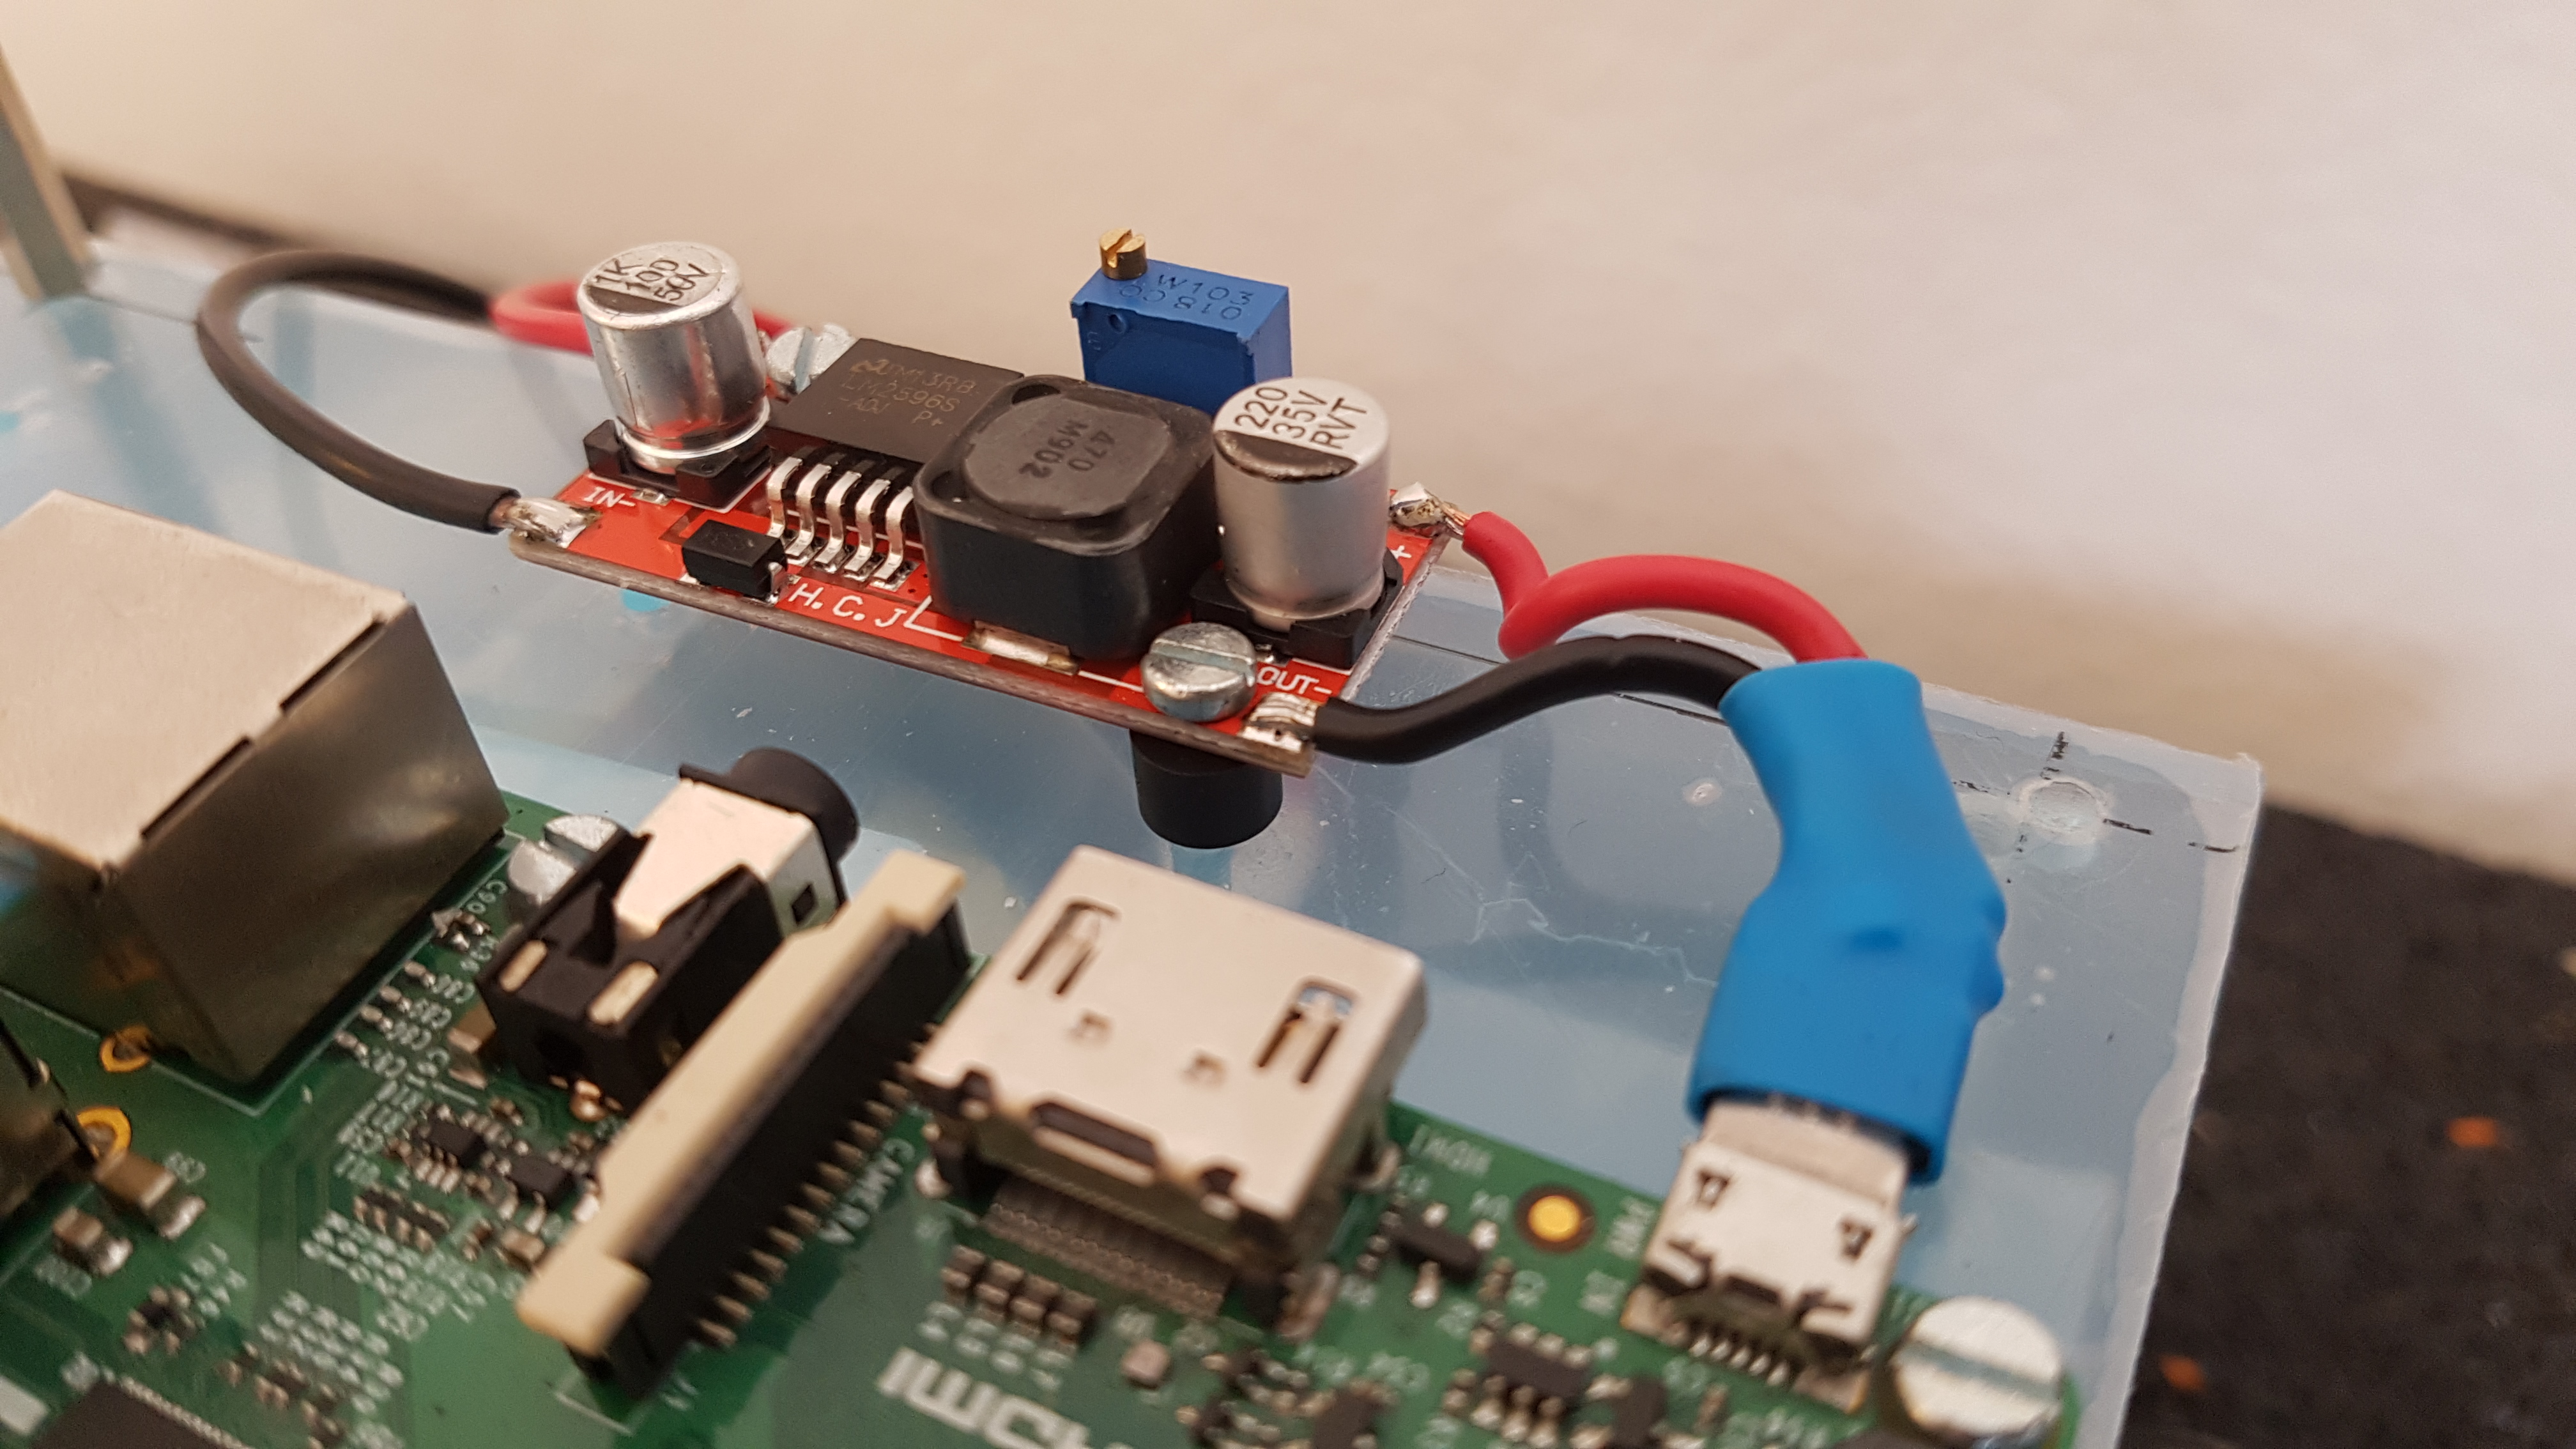
Using an adjustable DC/DC power converter! While these units cost little over 5 EUR (for 5 units in total), they take anything from 4V – 35V as input, and the output voltage can be configured by turning a little screw on a potentiometer. In my experiments, the voltage could drop as low as 6.1v, and this unit would still supply a rock-steady 5v to the pi (once setup, it will deliver steady 5v on the output for a wide range of voltages actually). They can withstand 3A max, which should be enough for the raspberry pi and any sensor I hook up to it.

I ended up soldering a micro-usb-connecter to it myself:

In a first testrun with the 7.2V, 2600mA NiCd battery pack I had lying around (it is quite old, so it probably has a far lower capacity than that), the Raspberry Pi lasted 1 hour and 42 minutes, while driving around with the motors from time to time: up 1:42, load average: 0.48, 0.33, 0.33.

Neato XV Laser scanner (LIDAR)

So today my Neat XV LIDAR module arrived, and I had to test it directly with the Raspberry Pi. For everyone that does not know this wonderful piece of hardware yet: It is a low-cost 360-degree spinning laserscanner that is usually scavenged from the Neato XV vacuum-robots. In Germany it is quite hard to get your hands on one, so I ordered one via ebay from the US.