After fiddling around with some ultrasonic sensors for S.A.R.A.H. (my home automation system), I was looking for other options. Thanks to ebay, industrial laserscanners are now an option :)
In this article I will describe how I connected the scanner with a regular PC, got the password, and provide a python-class that is able to communicate with the scanner and produce nice cv-images (and a numpy-array containing the measurements).
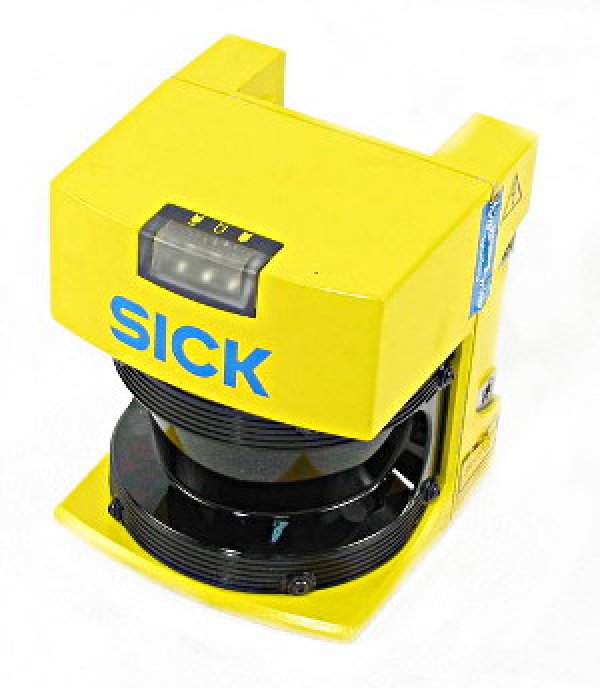
I payed 80 bucks for this used SICK laserscanner in the bay: the PLS 101-312.
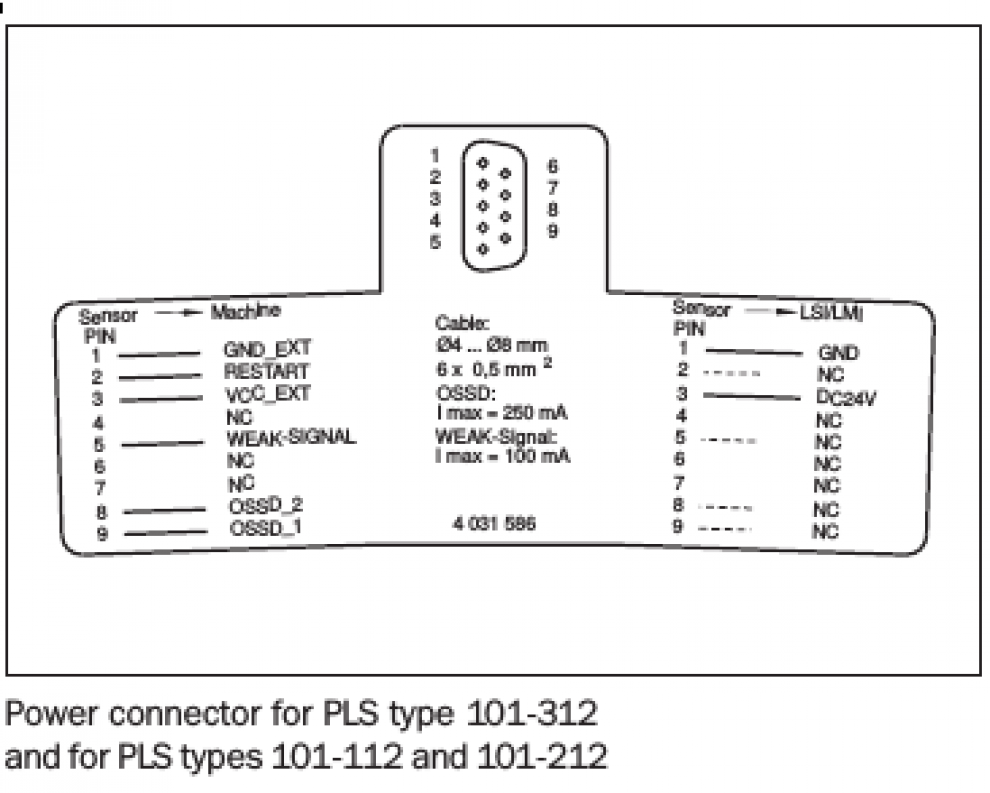
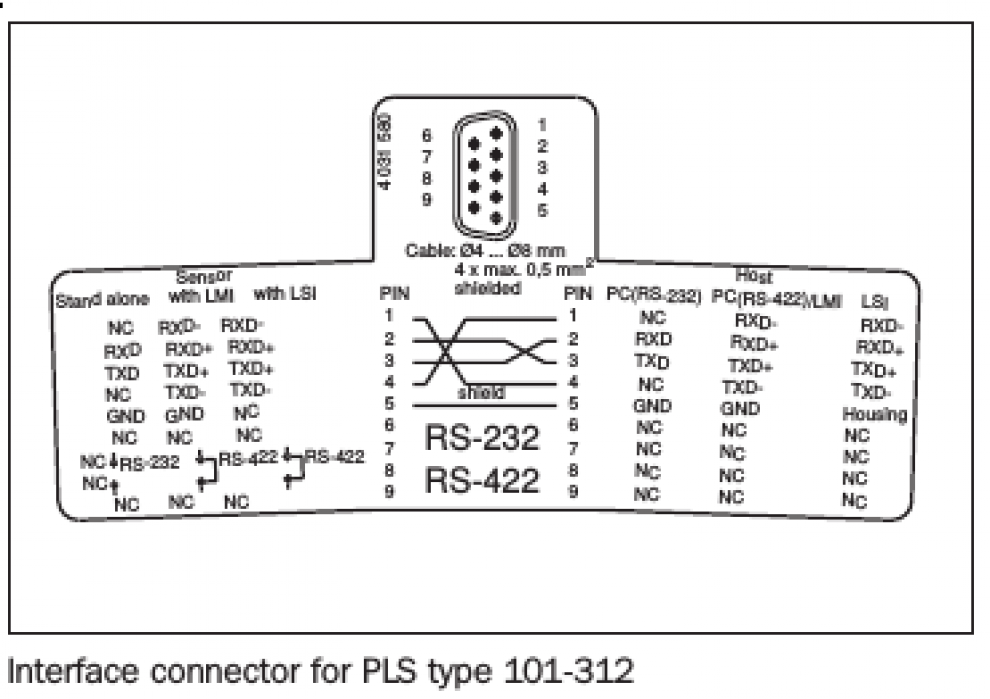
( The images of sensor characteristics and the schematics of RS232- and Power-connection are taken from the official SICK Technical description.)
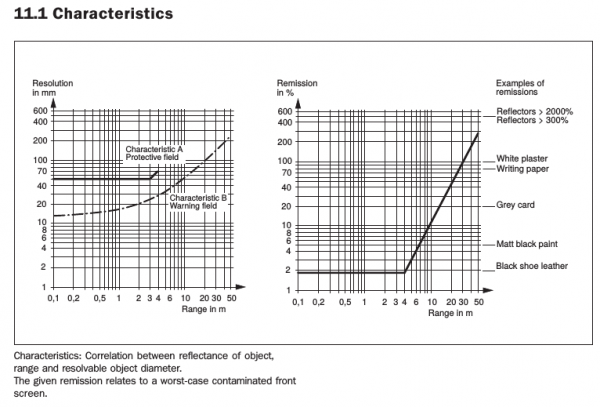
It covers 180 degrees with a angular resolution of 1 degree, and is accurate to about 7cm up to 4m, and still nearly 20cm at distances of 50m (see image on the right, taken from the SICK Technical description).
It has some built-in functions to directly respond to violations in pre-defined areas ( trigger relais ), but I am only interested in getting the measurements out.
Power and RS232 connection
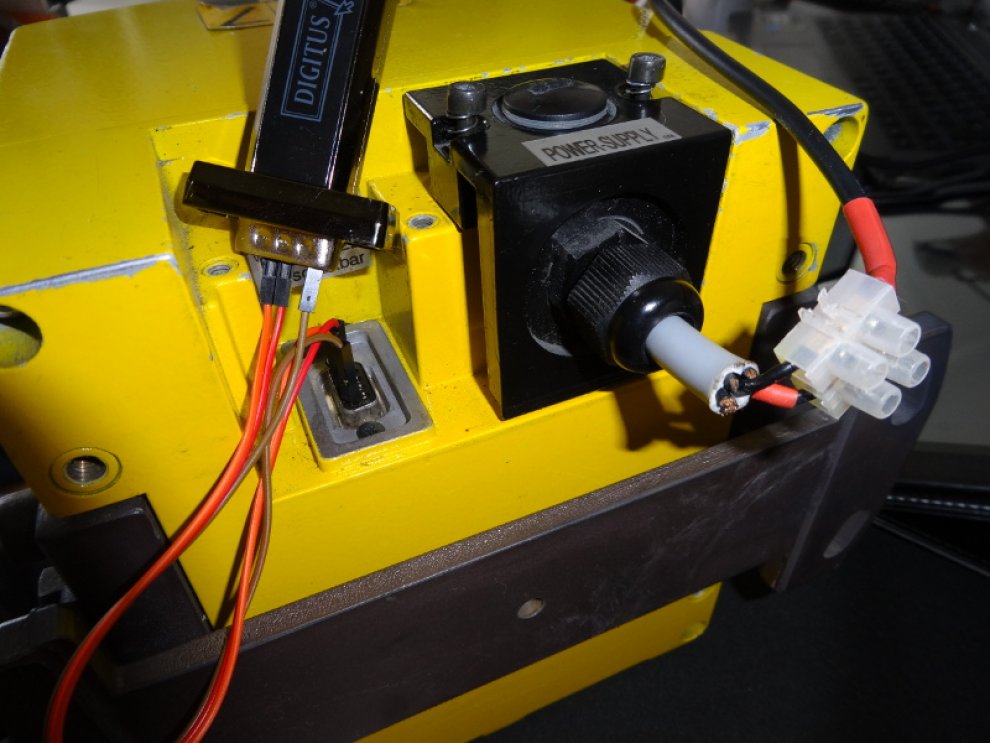
First things first. My ordered power supply was stuck in the delivery, so I used an old laptop supply with 19.x volts. For the RS232-connection, I used an USB-RS232 adapter from digitus. The connections are straight forward. The power supply only needs to be connected to Vcc and GND, the RS232-Connection only needs RX/TX and GND connected ( CROSS OVER RX/TX WHENCONNECTING TO THE USB–ADAPTER !).
Getting the password
After this thing was running ( it is quite silent, like a slow pc fan ), I started the original software to see what the sensor was capable of and what settings I could control. Thats when I ran into my first problem: to get full control, you need a password to authenticate as “Authenticated Customer”. Usually, the standard password for these devices is SICK_LMS, but it has been changed. The seller on ebay could not help me, so I gave it my best shot and hoped that the creators of this software made the mistake of reading and storing the password somewhere in plaintext. Which they did ! Mind you, this software was running on windows. I found a tool called Api Monitor v2, with which I was able to watch the memory of the program while it was running. In the screenshot, you can see the memory dump where I discovered the password.

Communication protocol


The hard part was getting and implementing the communication protocol for my python-system with linux. The telegram description of this particular scanner is not available online, so I had to use other sources.
It turned out that some guys from CMU implemented a protocol in C++ for a robot system, so I got some definitions from them. Another great source was the “Quick Manual for LMS communication setup”, which describes the protocol in depth for the older scanner LMS200, but turns out to be pretty similar, only deviating in some of the hex-values, but the overall protocol-structure is the same. I captured some dumps of the serial communication (while running the original software under windows) to get an idea of what exactly the messages look like (image on the right) using the HDD free serial port monitor.
Basically, the first four bytes are always header, (start (1b), destination (1b), length (2b)), followed by the actual message, followed by two bytes checksum (CRC16).
It turned out the the CRC16 that was needed used another generator-polynom and mechanisms than the regular implementations, but luckily I found a nice website that provides an online CRC-calculator for different formats, includes the SICK CRC algorithm, and provides the source code as download. I used this and ported it to python.
After the first trials I was able to hack together a python-class that implements all of the above, communicates with the scanner, gets the measurements, and displays an image of the readings using opencv.
Python software
Download the python software to communicate with the SICK PLS 101-312, then you can simply run test_sick.py, and an image of the measurements will show up (see below). I get around 4 fps, which is an acceptable framerate..

Comments (1)