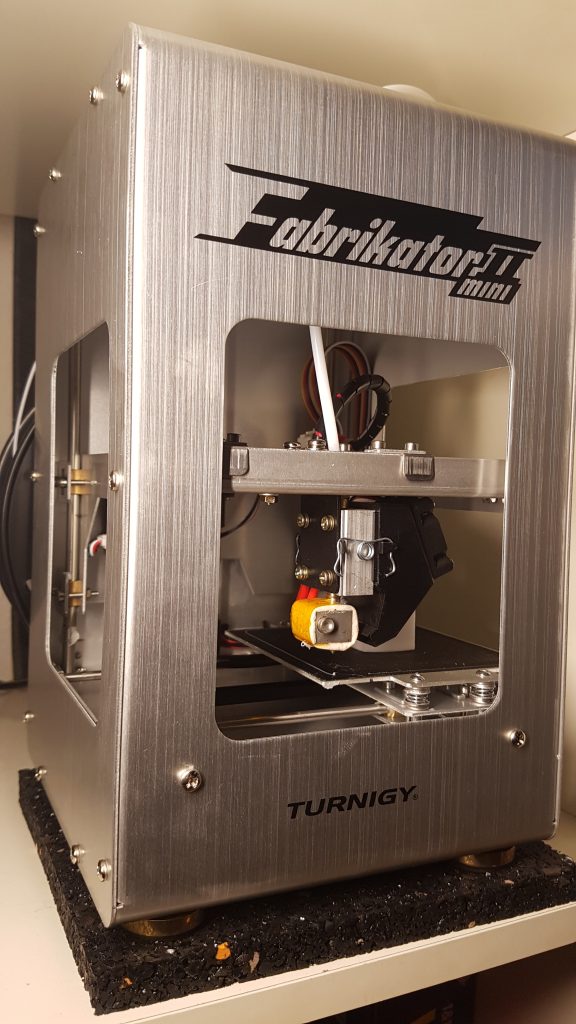
Fabrikator Mini v2

My robot is in desperate needs of new parts, so I ordered the Fabrikator Mini v2 from Hobbyking (below 200 EUR with shipping). It has a 10x10x10cm build volume and a sturdy metal frame while it’s only 17cm wide, 18.5cm deep (28cm with the spool holder mounted in the back), and 18cm high, which means it fits in one compartment of an IKEA KALLAX shelf. The first impression is very positive!

In this post I will describe my first experiences, the setup in windows/linux, and which settings work best for me using RepetierHost and Slic3r.

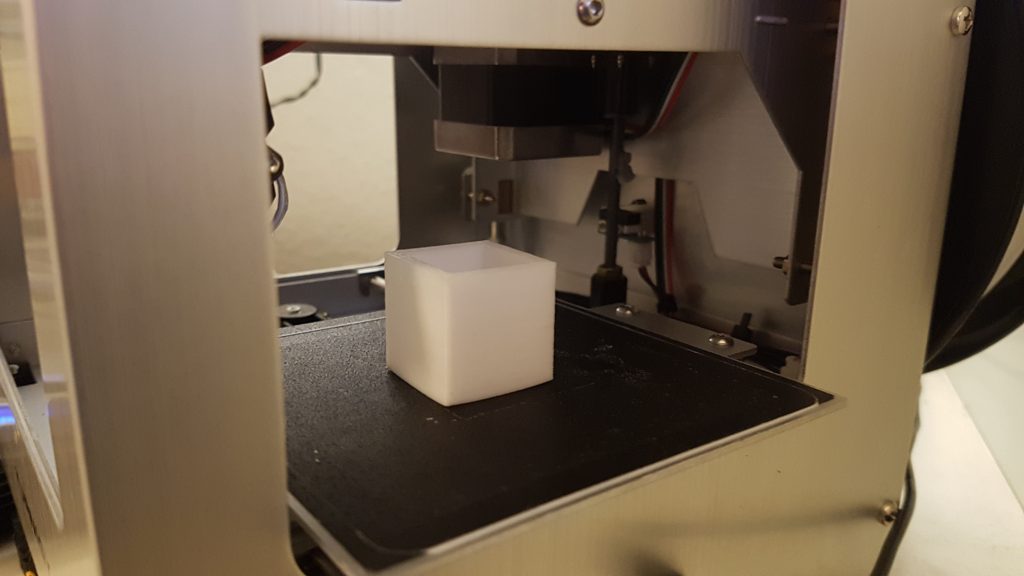
I got it out of the box, hooked it up to power and USB, installed RepetierHost (Windows 10, the linux adventure is below), and it connected right away to the printer. After that I followed the manual (setting the correct printer-dimensions and suggested print parameters) and tried to print a calibration cube using slic3r. I say tried, because even after 5 printer-bed-levelings, the filament just would not stick to the bed. I increased the temperature, lowered the speed, nothing would help. In the end I realized that for some reason the print-head has some space to the bed even in the first layer, so I set the Z-offset to -0.25mm in the printer-settings of slic3r – that did the trick!

For anyone interested, here are my slic3r-settings at the moment. They are not optimal yet (I still have some stringing, and if you want really proper prints you need to go down with the speed even furter), but seem to work well on a range of objects:

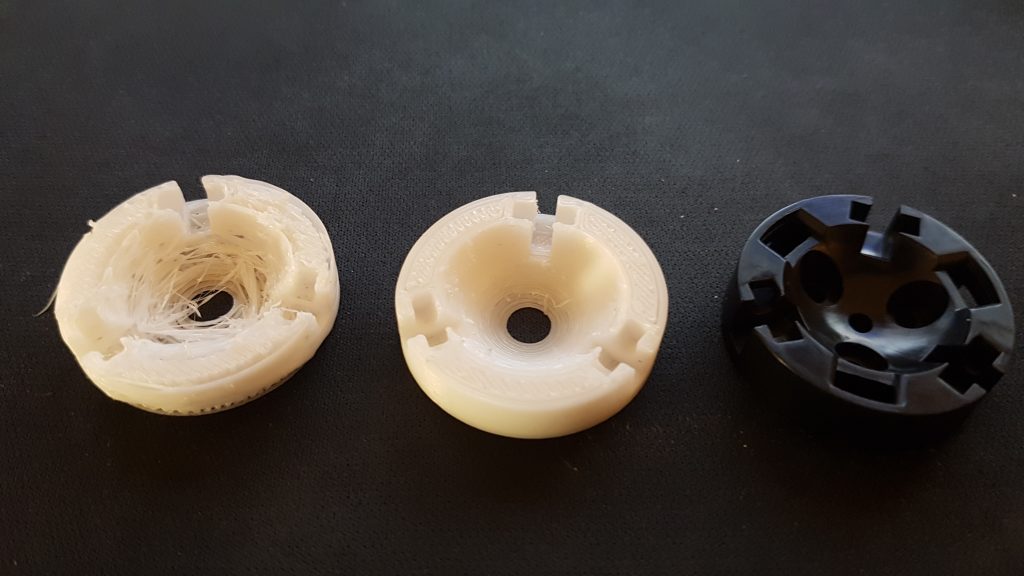
For the interested, here is the progression that above parameters (middle) yielded from the stock ones (left), as I tried to print a different holder for the polulu ball-caster:

The linux adventure

I followed the regular procedure:

  1. Added my user to the dialout group:
    sudo adduser USER dialout
  2. Checked dmesg outputs, all fine, cdc_acm is loaded, /dev/ttyACM0 gets created
  3. Set the baudrate according to the manual in RepetierHost (115200)
  4. Connect to the printer

So far so good. Nothing would happen, the commands would just queue up, but every 10-20 seconds, one command would go through and the printer moved shortly. Even stranger, the homing-button of RepetierHost did work consistently!

After stumbling around the web and bug-reports in differnt git-hub repositories, I got to know that mono (the underlying framework for RepetierHost in Linux) still has Problems with non-ANSI baudrates. The baudrate stated in the manual (115200) does not seem to be correct, the printer currently works with 250000 baud, BUT: one has to set them outside of RepetierHost (because of the mono problems). The following procedure allows to use the printer with Reptierhost in Linux:

  1. Connect the printer
  2. Start ReptierHost, press “Connect” (NOTHING ELSE)
  3. Use the following python script to set the baudrate:
    #!/usr/bin/env python
    import serial
    serial.Serial("/dev/ttyACM0", 250000)

Designing and printing a part

For most stuff, I use OpenSCAD, an awesome piece of software that allows to create very complex objects from just scripted geometric primitives and boolean operations on them. Here is an example USB/SD/MicroSD-organizer I designed and printed on the Fabrikator:

There is still some warping (this organizer is 8x8cm) I need to work out, but as this has been printed without heated bed it might be an easy fix.
Comments

11 responses to “Fabrikator Mini v2”

  1. Jake Maverick Avatar
    Jake Maverick

    Hi…I’m having same problem with linux….but your fix did not work for me! I presume u copy and paste that into terminal…? ;-) still learning on linux as well….iused to have 1.5 fab and that worked fine…it just the Mark II i’m having problems with….. I get bash: syntax error near unexpected token `”/dev/ttyACM0″,’

    1. TobiasWeis Avatar
      TobiasWeis

      Hi Jake, you have to put the three lines from above into a textfile, and save it as set_baudrate.py. Then, in the console, navigate to the directory where this saved file is located, and run “python set_baudrate.py”.

      1. Jake Maverick Avatar
        Jake Maverick

        Hi…I’m having same problem with linux….but your fix did not work for me! I presume u copy and paste that into terminal…? ;-) still learning on linux as well….iused to have 1.5 fab and that worked fine…it just the Mark II i’m having problems with….. I get bash: syntax error near unexpected token `”/dev/ttyACM0″,’
        thanks you so much! at first i didn’t think it had actually done anything but seems to be working now….still getting error messages though but it is doing what it is told! ;-) CheerZ!

  2. Jake Maverick Avatar
    Jake Maverick

    i’m now getting this error

    Traceback (most recent call last):
    File “set_baudrate.py”, line 3, in
    serial.Serial(“/dev/ttyACM0”, 250000)
    File “/usr/lib/python2.7/dist-packages/serial/serialutil.py”, line 180, in __init__
    self.open()
    File “/usr/lib/python2.7/dist-packages/serial/serialposix.py”, line 294, in open
    raise SerialException(msg.errno, “could not open port %s: %s” % (self._port, msg))
    serial.serialutil.SerialException: [Errno 2] could not open port /dev/ttyACM0: [Errno 2] No such file or directory: ‘/dev/ttyACM0’

    going square eyed now so gonna rest a bit….;-)

    1. TobiasWeis Avatar
      TobiasWeis

      this means that the serial port /dev/ttyACM0 does not exist anymore. you probably unplugged your printer in between, so it got assigned a new device name on reconnect, probably /dev/ttyACM1. you can check in the console by running “ls /dev/ttyACM*”

  3. Jake Maverick Avatar
    Jake Maverick

    actually, not sure if this helps…but i manually changed the print settings to what it said in that script, then ran the script again…and it seemed to be working fine….until i restarted repetier then back to square one again….repeating the procedure doesn’t fix it….so seems that i can get there, but just need to find a way to save it/ make it stick…

    1. TobiasWeis Avatar
      TobiasWeis

      yes, you have to run the script everytime you restart repetier. in the end, I set up a raspberry pi with octoprint (https://octoprint.org/download/) and connected that to the printer. Now I only slice with repetier on my machine, then upload it to the octoprint server.

  4. Jake Maverick Avatar
    Jake Maverick

    wow, that is a real shame…it was never a problem with the 1.5. Can’t believe this problem not been fixed yet….and also your site being the only resource to help fix it! Have u been deleting comments off here or am i really the only one that has made it this far…? ;-) presumably, it would have the same problem with the wireless….although i not tried that at all yet…that’s if it will even work at all with linux? I do have a W7 machine as well, guess i will have to try and get it to work on there…again….and i just got my first raspberry pi…but don’t really want to be using it for that….think i’ll probably just have to stick with the SD card, but whatever way you need to connect to PC occasionally at least for maintenance…like this blocked extruder head i have now :-( thanks for your help and putting this page up! you’re da man!

  5. Jake Maverick Avatar
    Jake Maverick

    ok…i just changed my nozzle….and it’s lot bigger than the previous one….so i’ve had to lower the print bed…but i can’t manually lower it enough! so i think i need to offset the Z axis…but i can’t find anyway to do that? tried the variables in ‘print settings’ but changing them doesn’t seem to do anything….i can’t see any options in Cura? hope u can help me again….cheerZ

    1. TobiasWeis Avatar
      TobiasWeis

      You probably have to move the Z-Endstop a little higher if possible (cannot look at the moment), or attach something to the moving part of the z-axis so the endstop gets pressed earlier. Here is a link to clarify what I mean: https://www.thingiverse.com/thing:1776429

      1. Jake Maverick Avatar
        Jake Maverick

        that is quite nifty! In the end I just glued a tiny piece of wood to the aluminium frame that comes down…done the trick! Only just saw your reply…having real trouble levelling the bed now, I’m gonna have to try if i can get it to work any better in Windows 7…..thanks!

Leave a Reply

Your email address will not be published. Required fields are marked *